10s
10s
0:00/0:00
The Routine
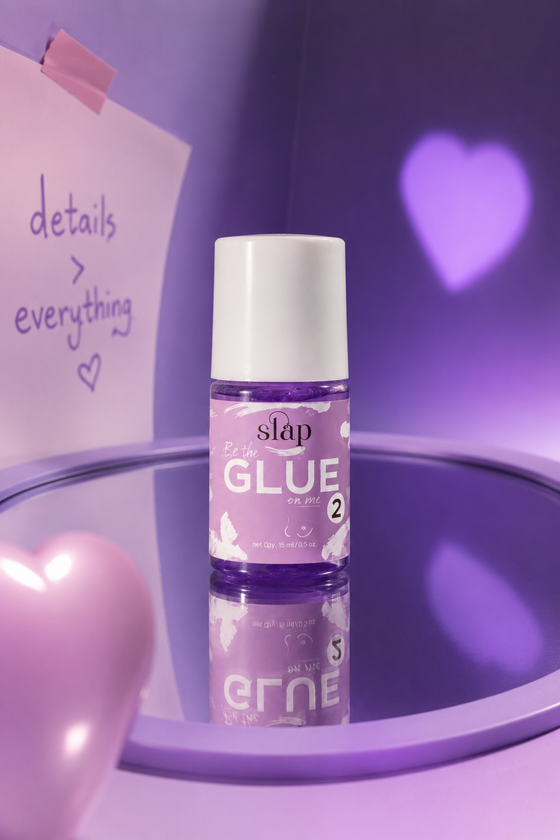
SEAL - Step 3
(2)
Rs. 974.00Rs. 1,499.00
Save Rs. 525.00In stock
● An essential liquid in the glue & dip steps.
● Salon grade liquid which allows for the nail colour powder to SOLIDIFY and lock in the powder with the glue to the nail plate.
● Seal can be applied generously to firmly set in the colour powder.
● Seal liquid is a part of the Slap’s starter kit.
✓
Locks colour into the powder
✓
Chip-resistant
✓
No UV needed
✓
Vegan & cruelty-free
How to Use
Note: For a salon finish at home, place your tools on a clean mat. No contact with water during the routine — and 30 minutes before / after the glue & dip steps.
- After pushing back the cuticles with the cuticle presser.
- File / buff the top surface of the nail with the nail filer & buffer.
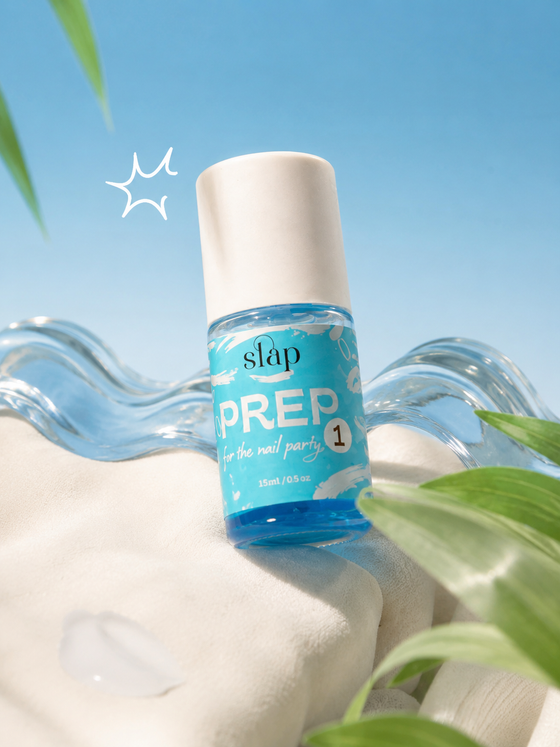
- Apply Prep liquid for dehydration of the nail plate.
- Apply glue very carefully ONLY on the nail plate.
- Dip into the powder within 3 seconds of the glue application, at a 45-degree angle.
- Wait 10–15 seconds to dry. Use the sharp end of the cuticle presser to clean any powder from the skin / cuticles / side edges.
- Use the nail brush to clear the powder from the skin.
- Repeat the above process 2–3 times — that's up to you.
- Once glue & dip steps are complete, apply seal liquid to solidify the colour powder on the nails.
- Bumps or unevenness? Don't panic. Apply seal liquid — the powder will harden, and you can file the clumps down with the filer to achieve a clean nail arch.
- Apply seal liquid again — this solidifies the powder furthermore.
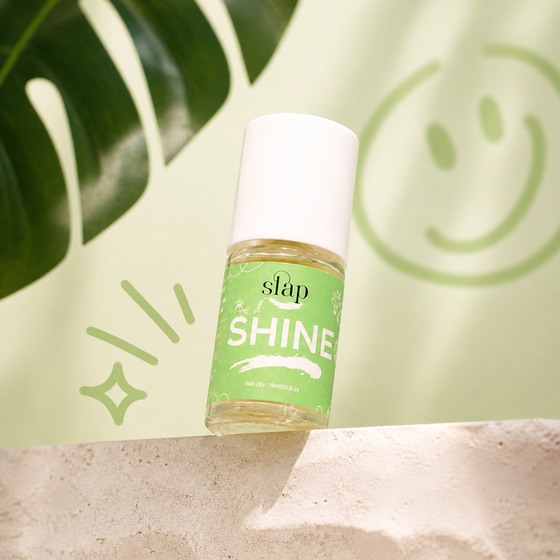
- Lastly, apply the shine liquid (1st coat) within 1 minute of the seal liquid.
- If you want max shine — apply the 2nd coat of shine liquid within 1 minute of the first coat (when the first is half-dry).
- Don't touch the nails — the shine liquid air-dries in ~3 minutes. No UV / LED required.
- This set will last 30–45 days. Salon-grade nails, from home.
Pairs with this
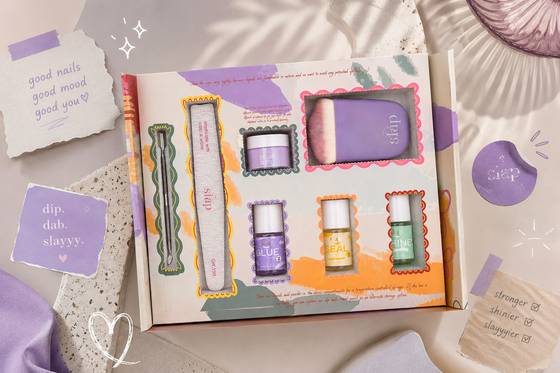
Make it a system.
The kit, the colour, the five-step routine — everything that pairs with this product, curated for you.
Sale
Sale
Sale
Sale
Sale

Sale
Sale
01PrepSale
02GlueSale
04ShineSale
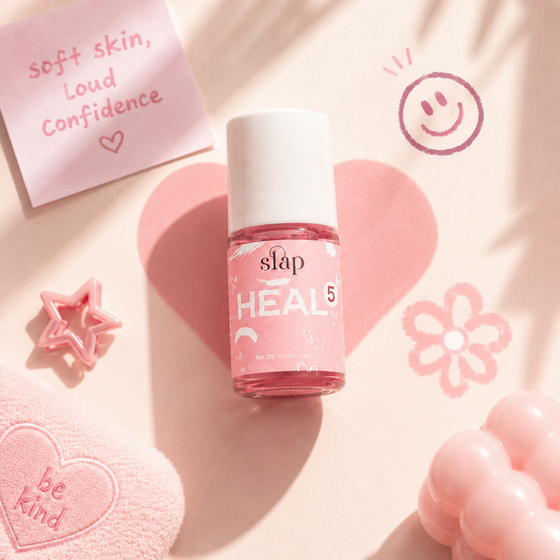
05HealSale